
Vogue 1540 | Misses Coat and Vest

Every woman needs a flowy cardigan in her wardrobe, for sure! This pattern is the perfect one if you’ve been looking to add one to your hand made wardrobe. It’s not super difficult to put together and can be completed in just a few afternoon sewing sessions. Keep reading to find out why I say this about the Vogue 1540 pattern.
Quick Overview
Pattern Used: Vogue 1540, V1540
Sewing Experience Level: Average
Pattern Envelope: Accurate Descriptions, except it did not include that there are insets on the sleeves
Item Description: Loose-fitting cardigan
Fabric Used: Moderate Stretch Knit
Item features: Mitered Corners, Top Stitching, Deep Pockets, Inset Sleeves
Pattern Instructions: Very clear, teaching friendly
Overall Process/Steps: Easy to follow, not a super quick process
Extra Research Required: Mitered Corners
Would I sew again? Definitely!
Fit of garment: As described, flowy and comfortable

Behind the Seams, What Really Happened
I have always loved wearing flowy tops, flowy cardigans, flowy everything because I love to wear clothing that is comfortable, yet fashionable. When I found this pattern I said, “I absolutely have to make that.” I wanted to make the B version which is the vest initially, but then I said the sleeve version would probably be really cute. The sleeves are a little shorter than I would have liked, but I wanted to just make the pattern the first time with the sleeves as-is before making any adjustment to the sleeve lengths.
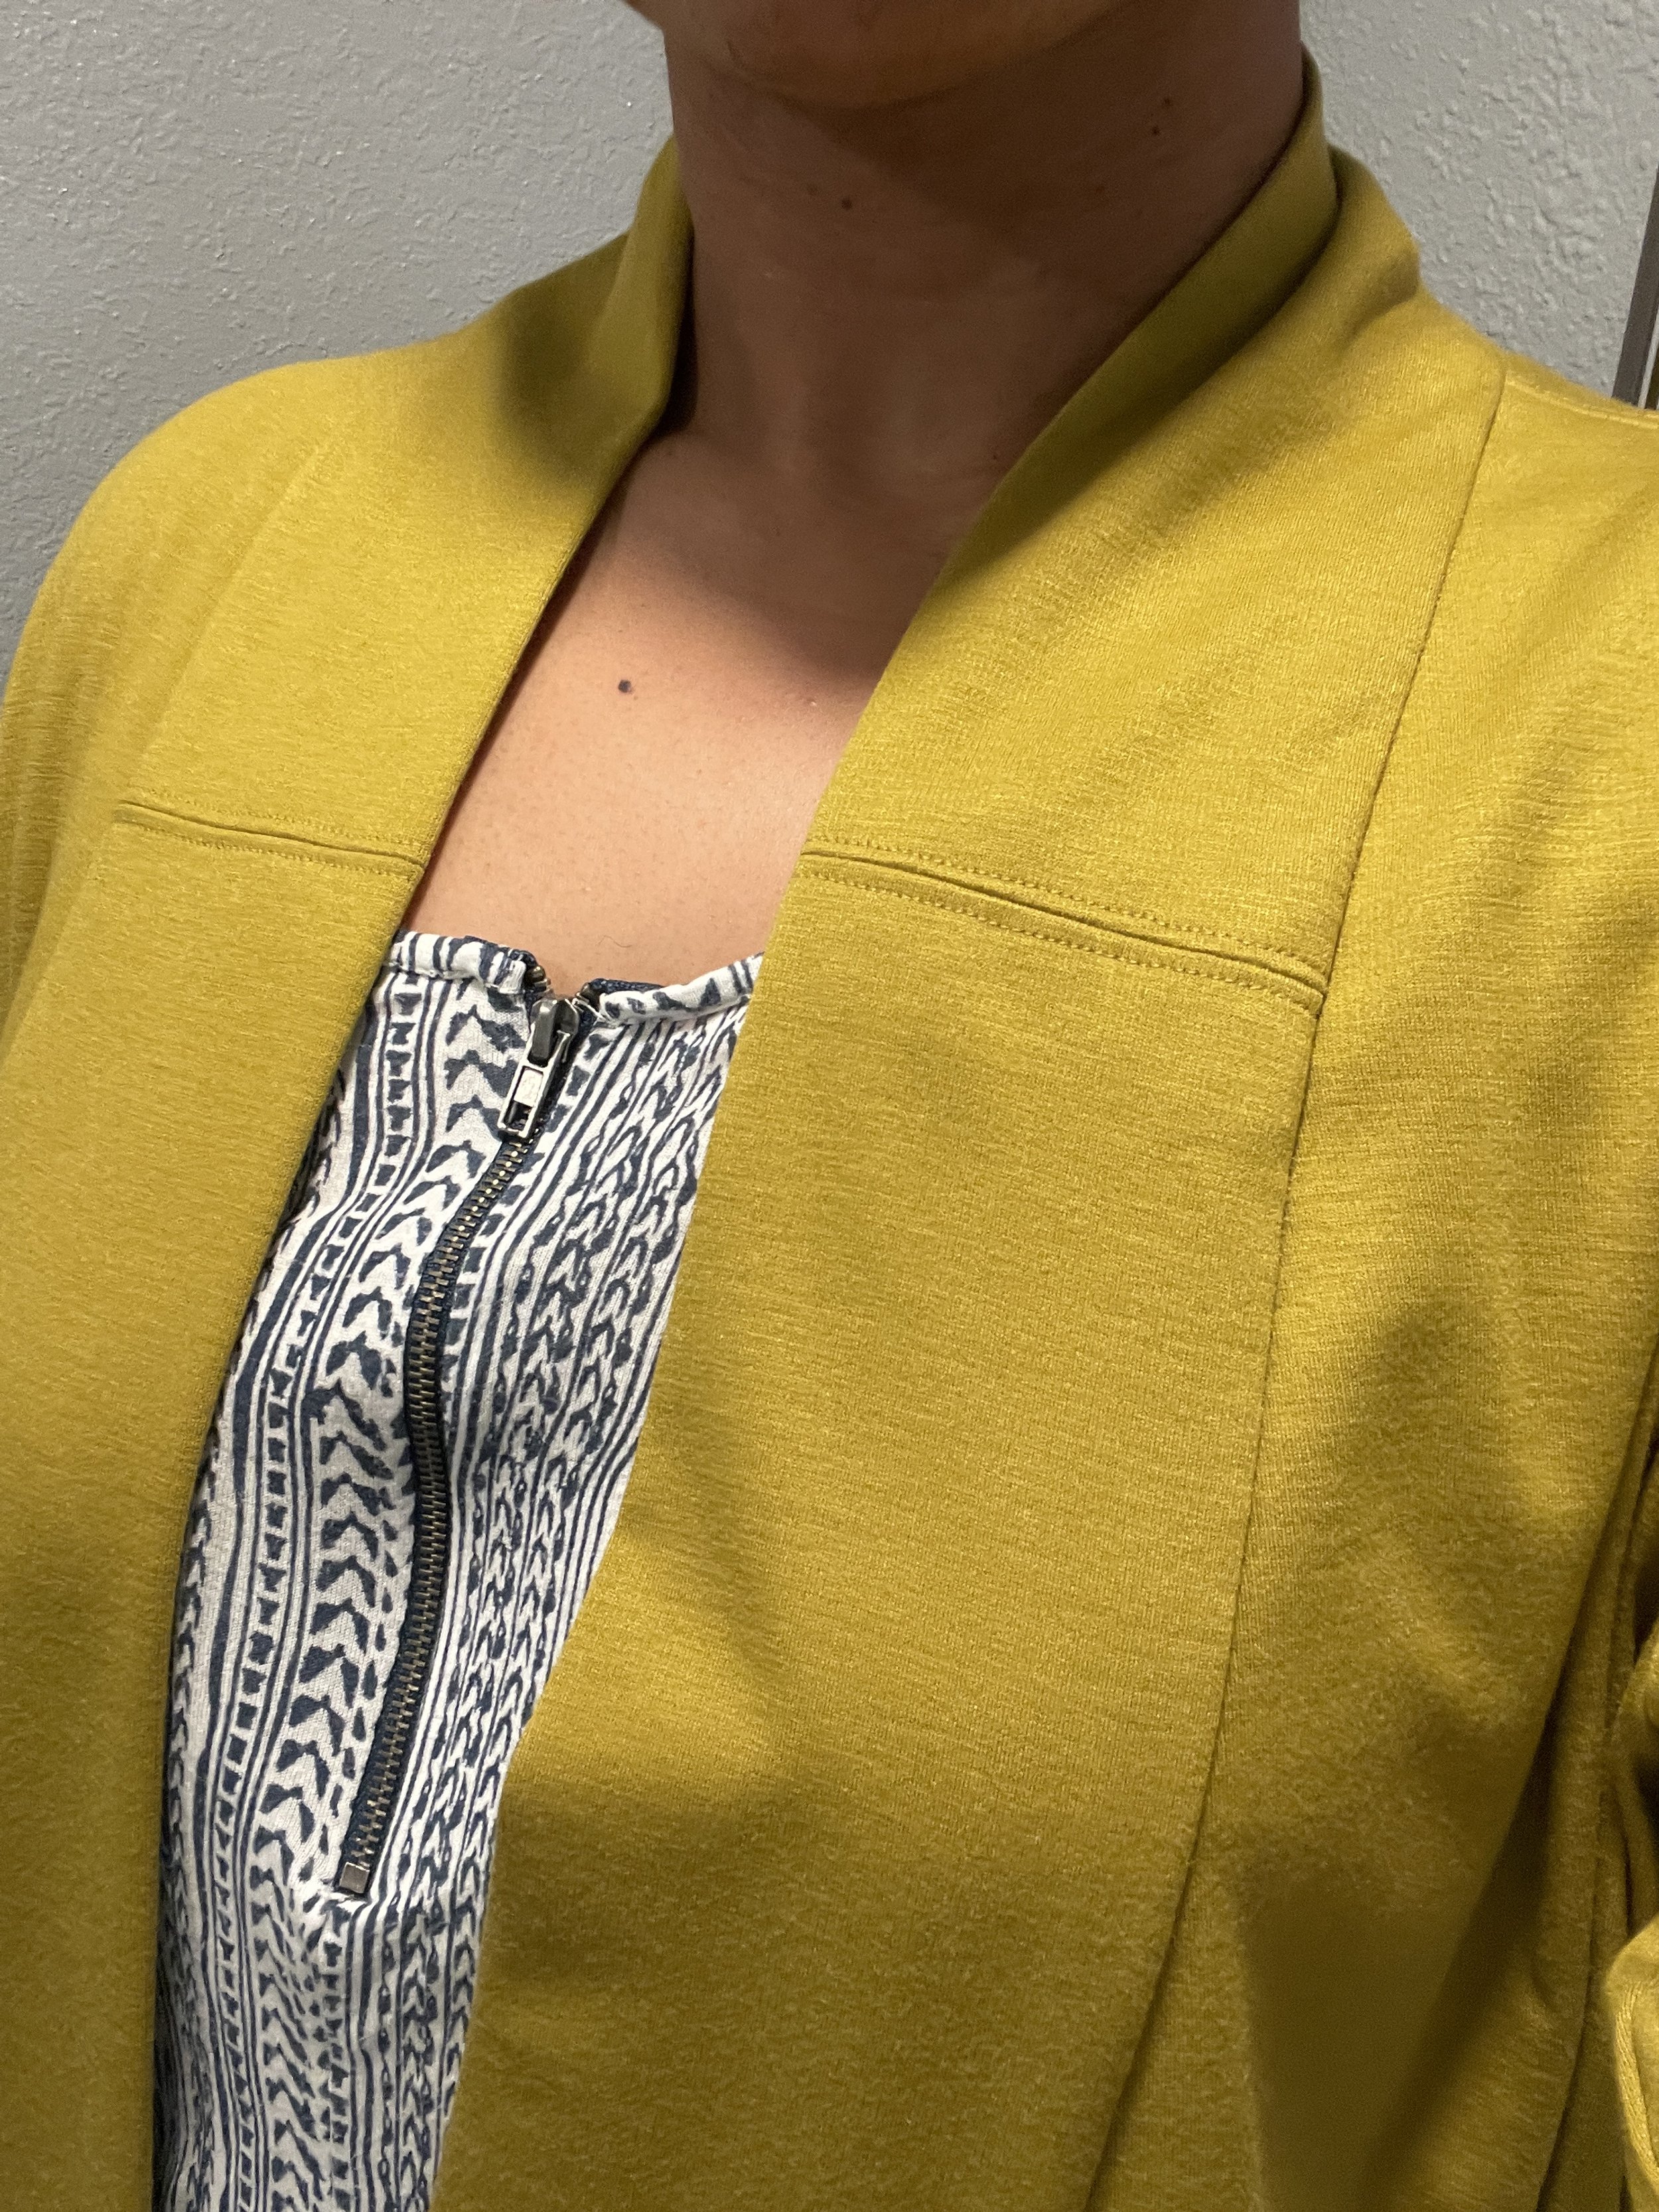
I thoroughly enjoyed making the Vogue 1540 with instructions by Sandra Betzina which is labeled as a Misses coat and vest. The fabric that I chose to use was a moderate stretch knit which has a nice weight to it and drapes very well. I absolutely love the color of this fabric, it's one of my favorites! Somewhat of a mustard yellow color and this pattern was perfect for it. With the version A that I made and the fabric used, I would call this a cardigan, as the fabric I used I don't consider to be heavy enough to be called a coat.
Sizing wise, I blended three sizes in order to achieve the fit that's best for me. Blending of the sizing for this pattern was very easy and as usual I drew my new blended sized pieces on tracing paper and then cut out my own pieces rather than cutting out the pattern tissue pieces.

Midway point of project, vest portion done.
I definitely appreciate the way that the pattern instructions are laid out. They are perfect for a beginner seamstress in that she really breaks down various steps and gives you tips along the way which is very helpful. One tip that I agree 100% on that was mentioned in the steps is that when in the process of a sewing project I try to pin as many pieces together as possible before going to the sewing machine to prevent the back and forth that is common with sewing projects. I thought it was very thoughtful to mention this needed tip in the instructions.
I do also like that Sandra also was in love with her own product and mentioned within the instructions that she's made it over five times, so that definitely shows it's a great pattern to have in your collection!
After completing the main portion of the cardigan, which would technically be the vest before adding sleeves, I really liked the fit and was very pleased with the construction.
I did make a few alterations to this pattern. One alteration I made was that I was using fabric that I already had in my stash and I did not have enough length to fully cut the band piece which also included the collar. I had to cut that pattern piece into two pieces towards the top of the pattern piece in order to fit it with the same fabric and not have to add a contrasting fabric for my band. So to make that adjustment look intentional, I allowed a 1 inch seam allowance and after sewing the pieces together I topstitched on both sides of the seem to make it an accented look. I chose to do that because there was topstitching with the pocket so I wanted to carry that stitching throughout the piece. I then decided to top stitch on both sides of the shoulder seam as well to keep a consistent look throughout this cardigan.
I also chose not to use the product that was suggested for hemming the garment, Steam a Seam, because I was trying to just use what I had on hand in my sewing stash and not have to go to the fabric store. I just stay stitched my sleeve on the bottom and then finished with a zigzag stitch for a clean edging and then proceeded with the directions.

Setting in sleeves.
One area of the project that I had to take my time on was sewing the insets on the sleeves. I did not notice or really pay attention to the fact that the sleeves had an inset because it's not mentioned within the description on the envelope and I overlooked it on the drawn diagram on the back of the envelope. I was able to do the inset the best that I could. I don't often sew insects. I think so far in my whole sewing career, which started in 2007, I’ve probably only made two projects that called for insects. So I took out my stitching twice to get a good enough inset where I was satisfied enough to proceed. But this part of the project could be a little bit of a challenge for beginner seamstresses or people who just haven't done it before obviously.

Inset sleeves.
My encouragement for this part of the project is to not let it stop you from completing the entire cardigan. Although it is noticeable because it is on the sleeve depending on the color that you're sewing with, the overall look will still be beautiful! And honestly that's another reason why I didn't notice that this cardigan had an inset on the sleeve because the fabric on the front of the envelope that's used for version A is black, so you clearly cannot see the detailing of the cardigan because of that fabric used. Personally I would have used a fabric that allowed you to see the top stitching that's on the pocket and the inset that's on the sleeves so that seamstresses know what this pattern involves.

Mitered Corner
Another section of the sewing process that I had to take my time on was the mitered corners. I have done quilting before, which is where mitered corners are often used, but it had been a few years since I had done that. The instructions were very helpful with these structured corners so it was not difficult, but required that I slow down a little bit to make sure that it was done correctly. Prior to making this cardigan I hadn’t ever sewn mitered corners on garments but I liked this finish added to the hemming.
Overall I enjoyed making this cardigan. I spent 3-4 hours over about 3 days completing this cardigan and documenting the entire process for our Stitch Your Seams Online Sewing Course. I will definitely be making this again very soon! It also makes for a great gift because it’s not super difficult to sew and you don’t need “exact” measurements for it to fit a friend.
Add this to your collection for sure!

Inset sleeves

Sleeve hem
Thank you for taking the time to read my review of the Vogue 1540 pattern. If there are any patterns that you would like me to try out and review send me a quick email at ahadicreations@gmail.com.
Talk Soon,
Amanda