
Billy & Betty Bomber Jacket | Threads by Caroline

I absolutely love this bomber jacket by Threads by Caroline! This is my second time making this pattern and I definitely plan on keeping this pattern in my rotation for my little ones as they continue to grow!
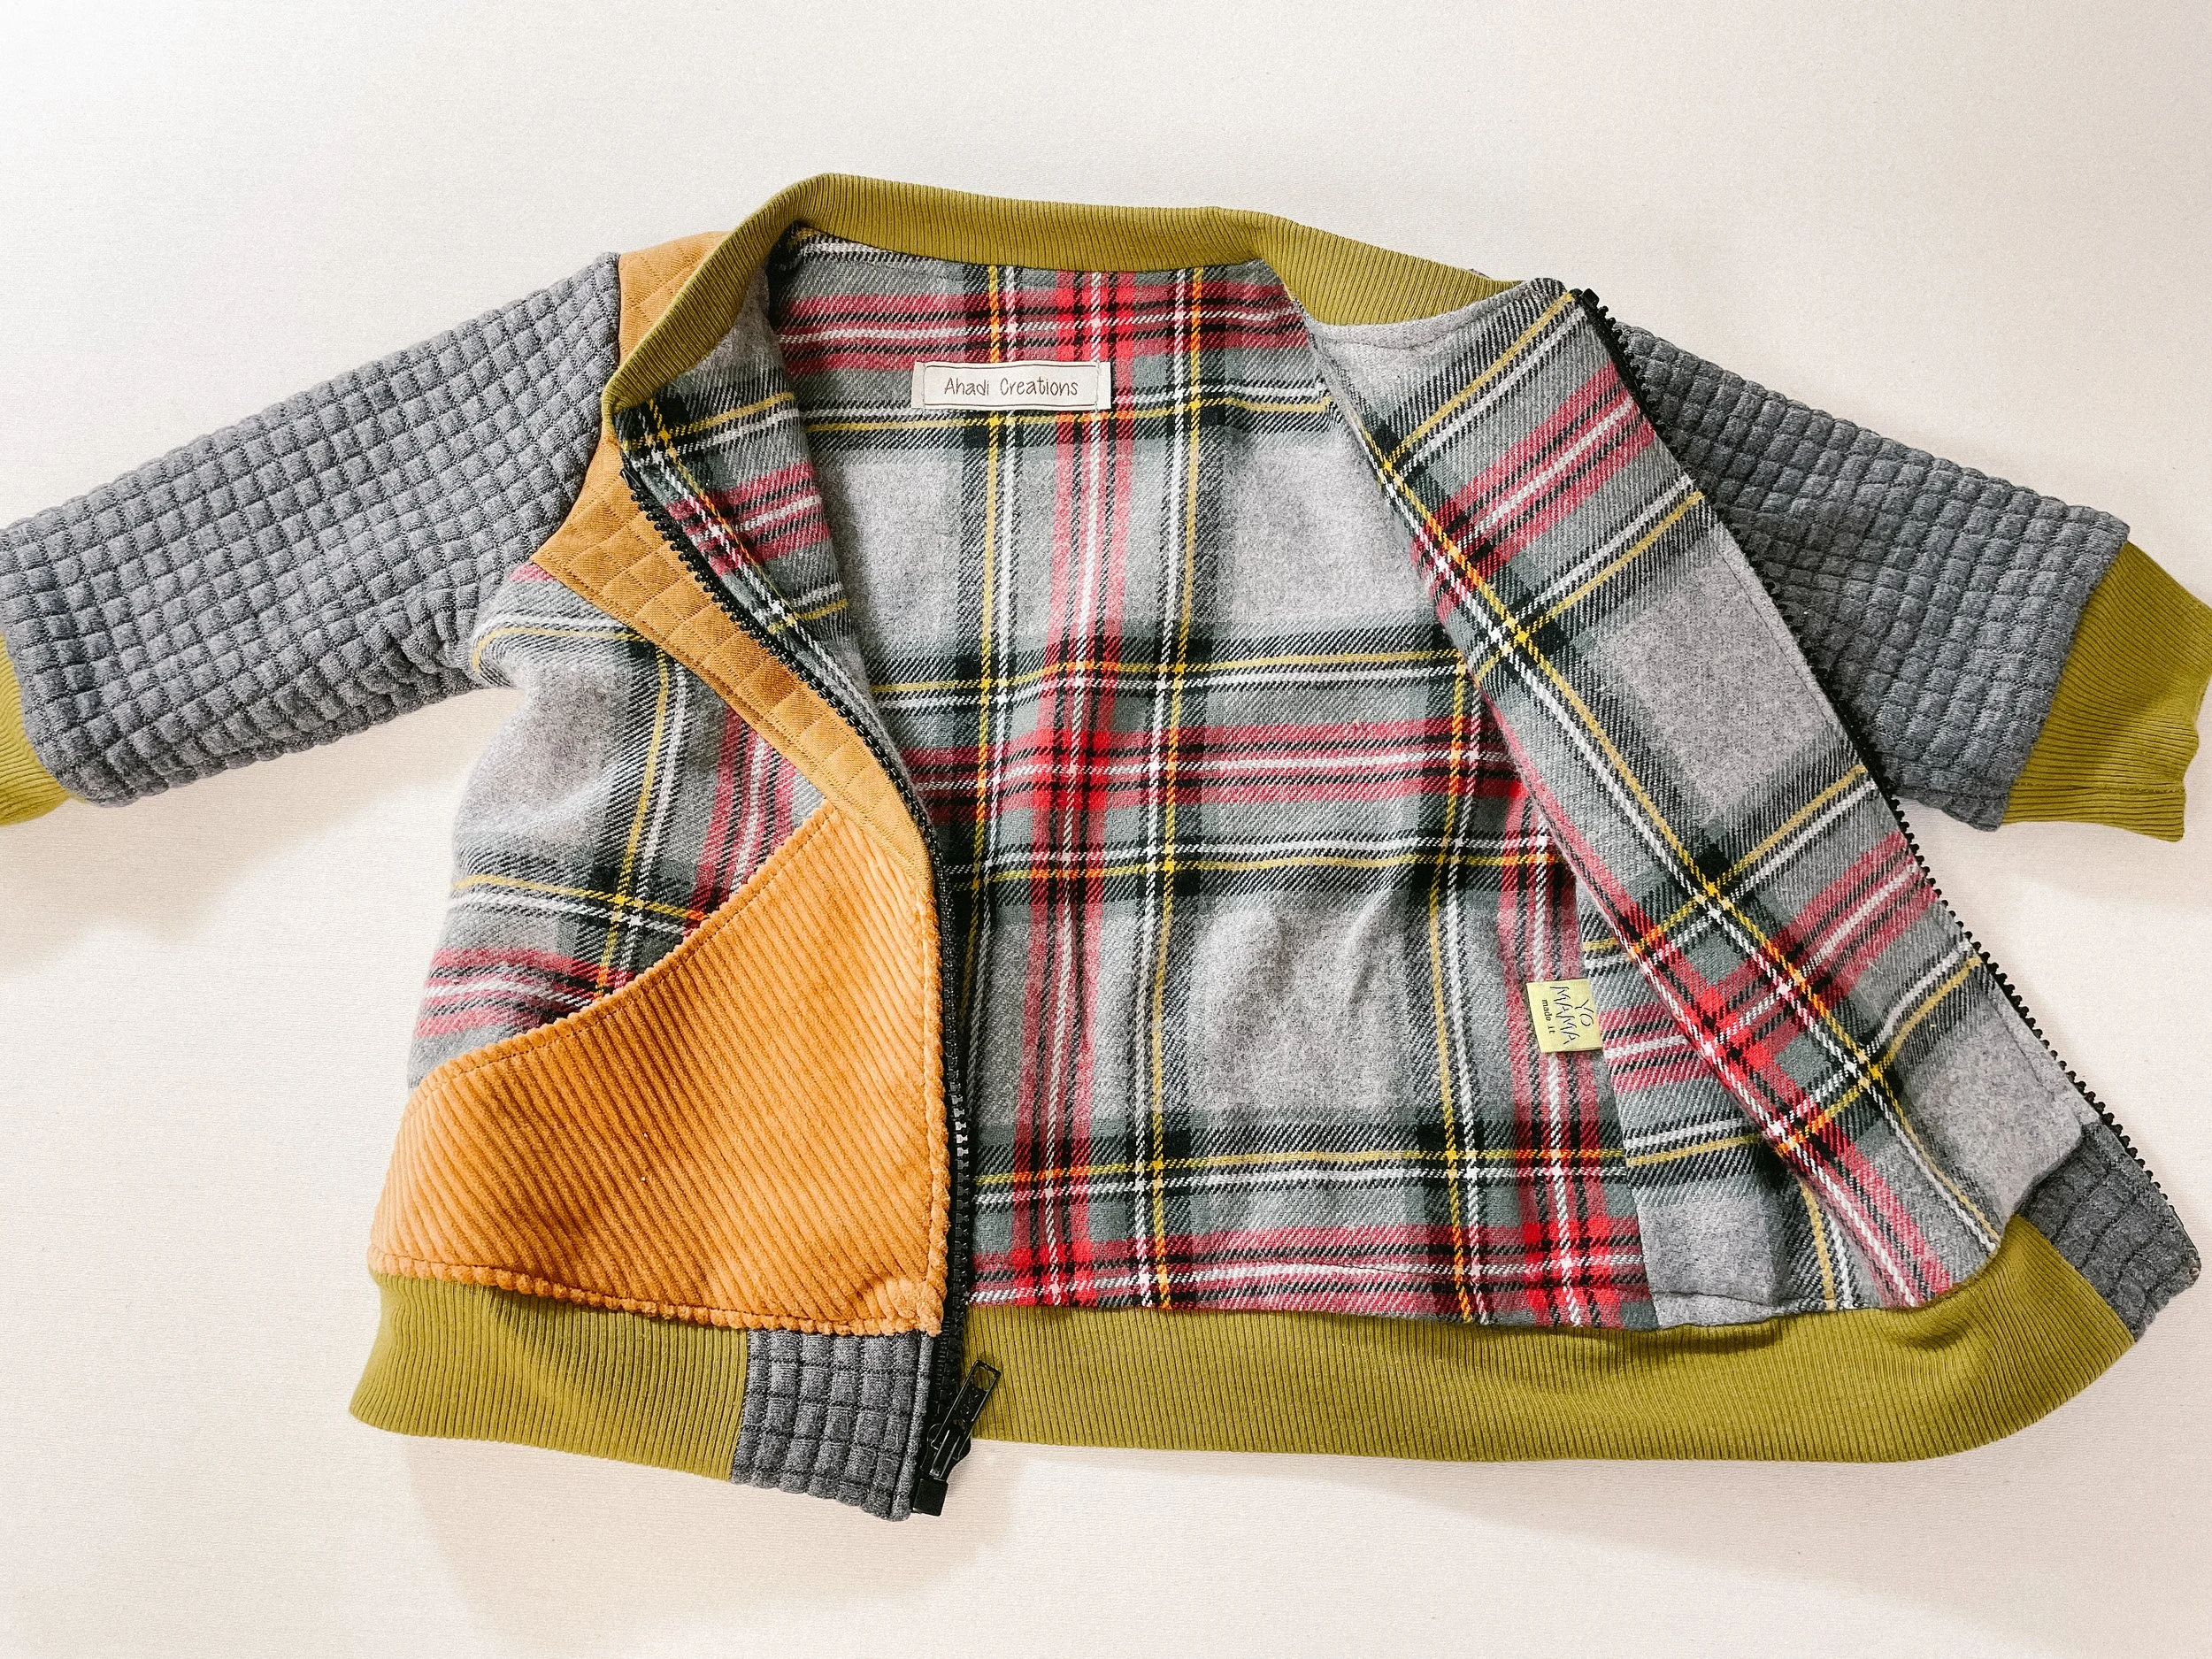
I like the versatility that this pattern offers with the endless possibilities of mixing up fabrics. You can make this jacket super basic or mix and match prints and pieces like I enjoy doing! The cool thing is that the download of this PDF pattern comes with a sketch of the jacket that allows you to color the areas of the sketch to give you a heads up for what your ideas will look like after sewn.
If you have never made a jacket before and are looking for a bomber jacket style, this one is definitely what you need, here’s why I say this…
Quick Overview
Pattern Used: Billy & Betty Bomber Jacket by Threads by Caroline
Sewing Experience Level: Advanced Beginner, if lining it.
Pattern Type: PDF Only for English
Item Description: Bomber Jacket
Fabric Used: Waffle Knit, Corduroy, Plaid Fleece, Ribbing, and Quilted Fabric
Item features: Color Blocking, Pockets, Separating Zipper
Pattern Instructions: Very easy to understand with the help of detailed pictures and illustrations
Overall Process/Steps: A quick to the point process, beginner friendly
Extra Research Required: If you make the jacket with snaps and are not familiar with the process, that will take additional time.
Would I sew again?: Yes!!!
Fit of garment: As expected, good.
Behind the Seams, What Really Happened
This pattern is so user-friendly. The directions are so straightforward and easy to use. I needed a lined jacket. The original pattern does not include directions for how to line the jacket. However, within the electronic instructions for this pattern they link to other blogs of people that did different variations of this jacket. So I followed the pattern hack from VirvelVi (her blog can be found on IG here). On these instructions, she goes into detail about how she added lining to her jacket, after step 26 of the original sewing instructions by Threads by Caroline.
She picks up from midway of the original sewing instructions from Threads by Caroline. I did switch up two steps from this blogger though. I added my cuffs onto the jacket BEFORE adding the waistband, that keeps you from having to leave a hole in the side seam of the jacket lining to flip the jacket and from having to do any hand stitching. I would definitely would recommend doing the cuffs first.
Adding the cuffs is also a part that just requires you to slow down and think. Lol! When I got to this point I was half distracted with my kids and realized I needed to just slow it down and think about what needed to be done, in order to place the fabrics properly to sew it.
I’ve included some pictures on how to put the ribbed cuff in-between the lining and the main fabric because the directions don’t give enough detailed explanation or wording (in my opinion) or pictures I feel to really make this step super easy.

After pinning the cuff to the right side of the main outside layer of the jacket, fold up the sleeve of the lining so that the wrong side is showing. Place inside on the other side of the cuff.
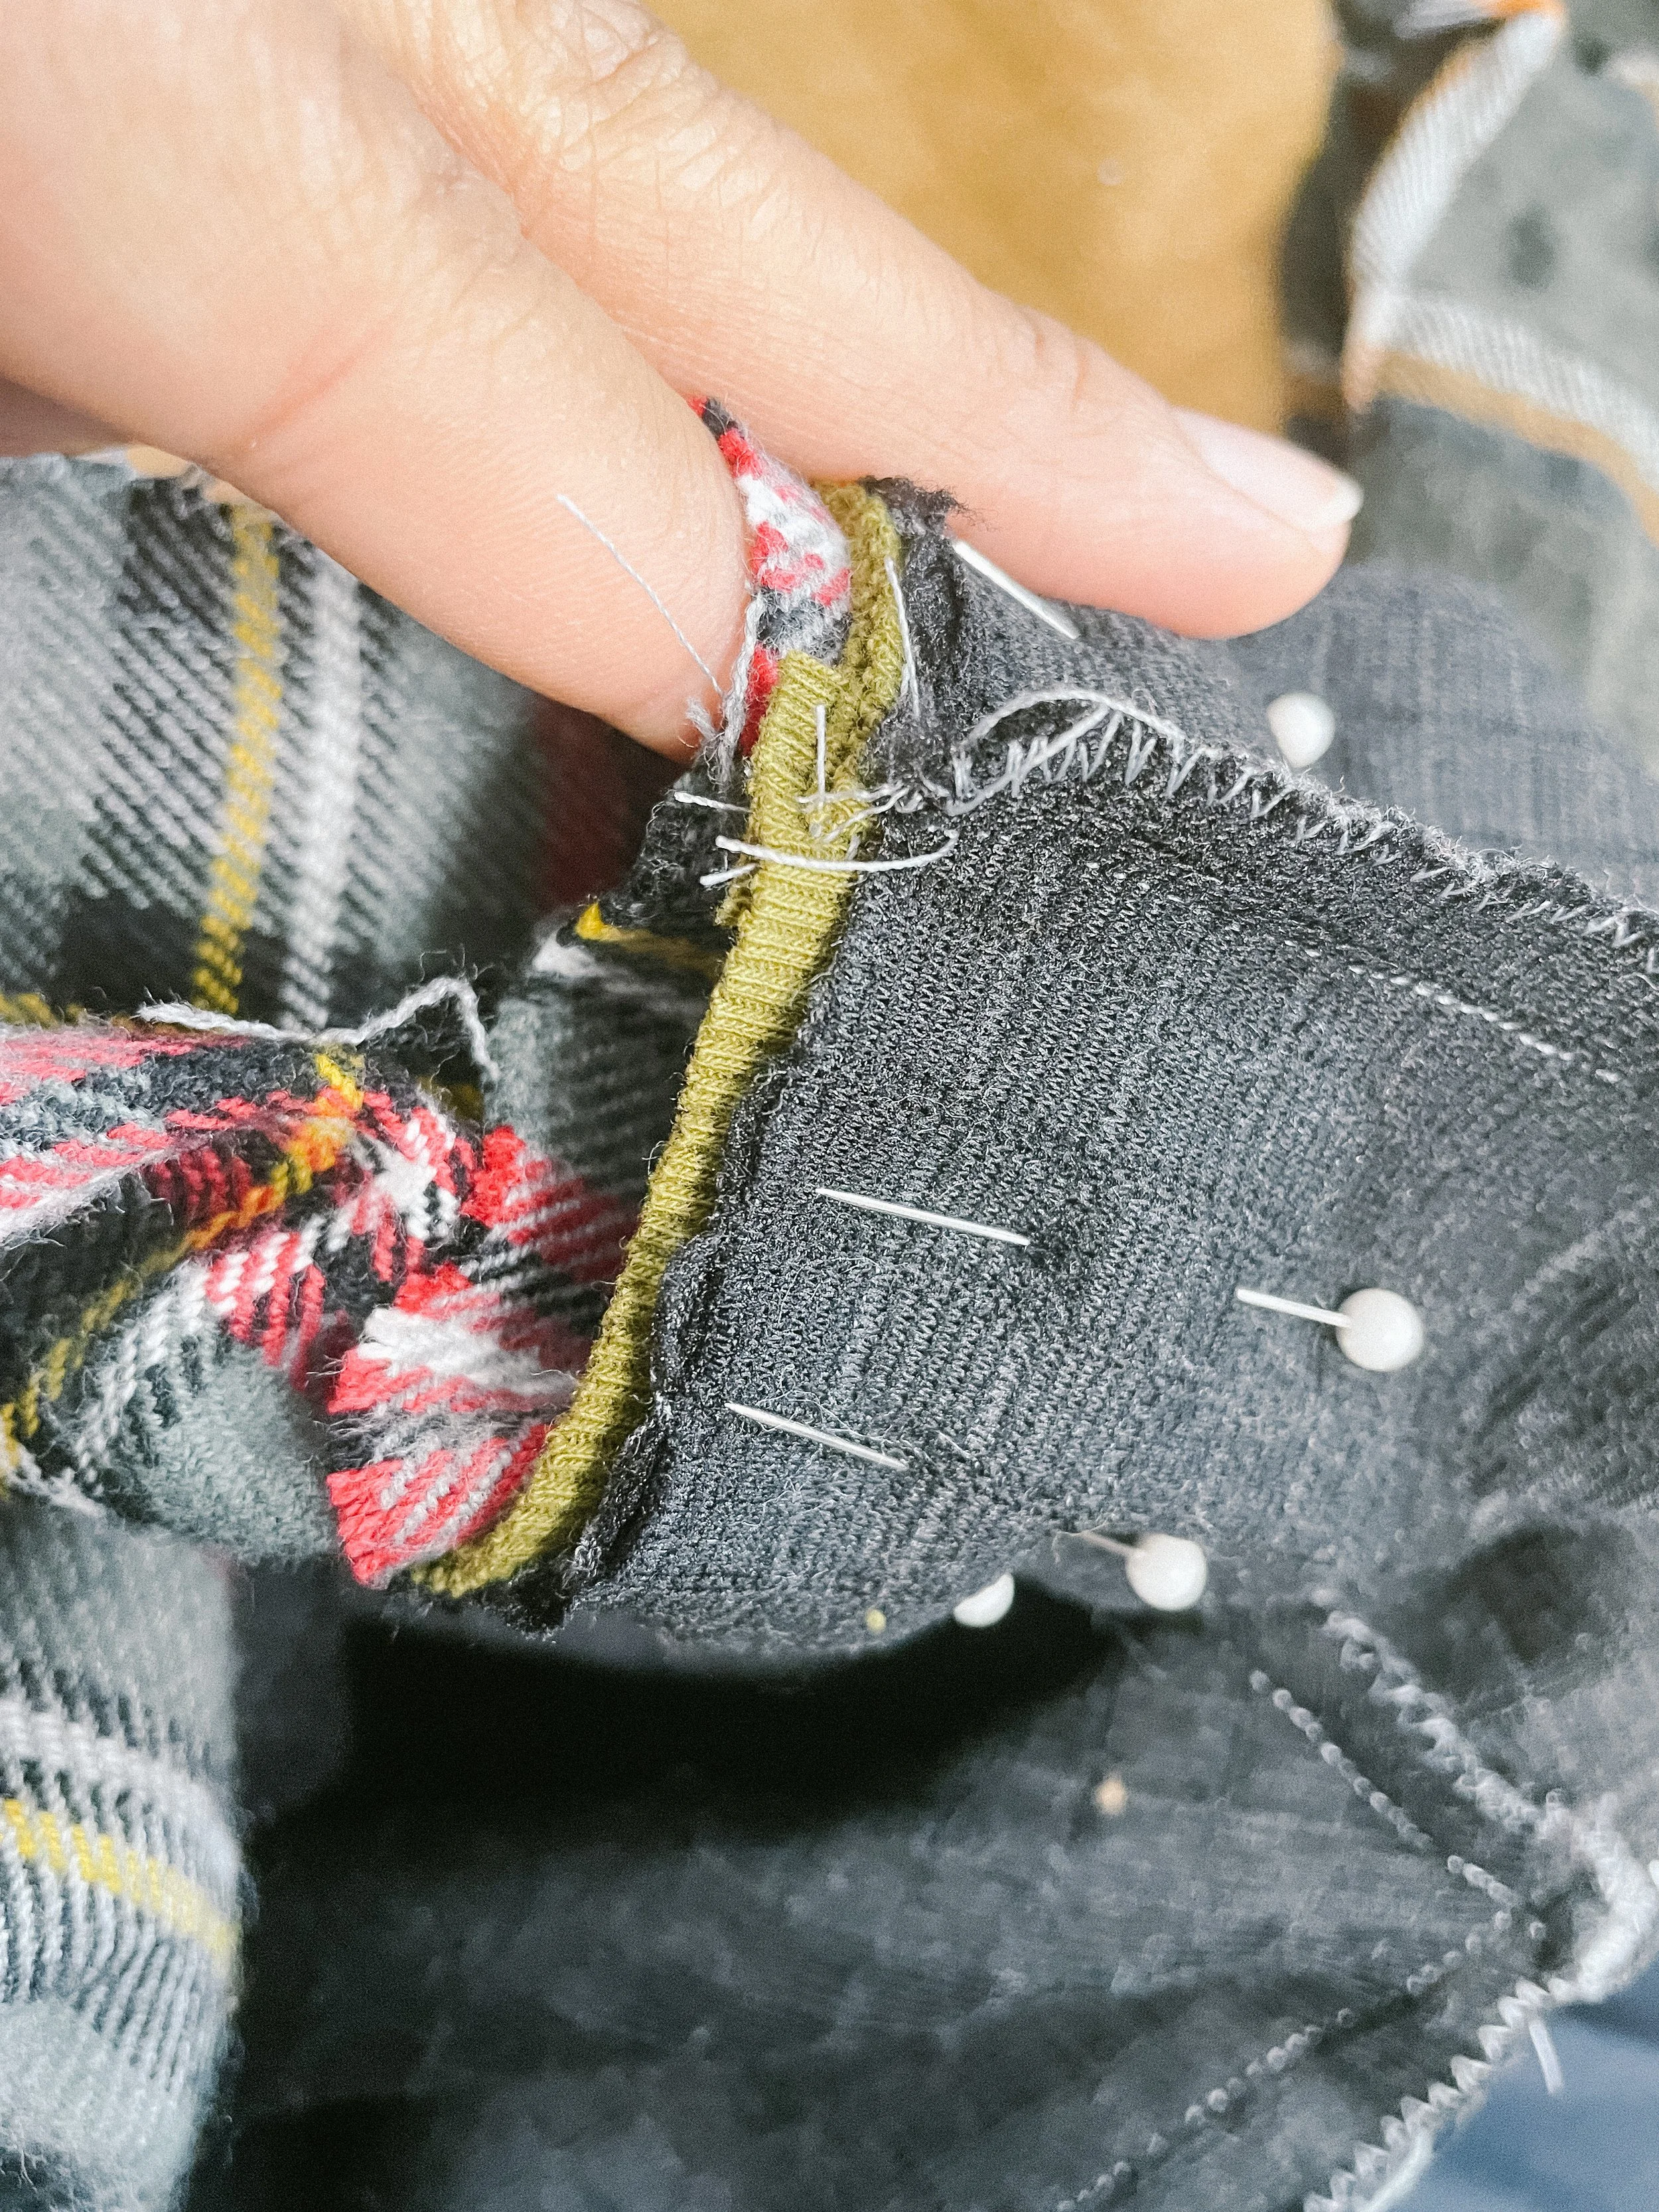
Once you place the folded sleeve inside the cuff area, pin all three layers together. Sew.
Other than that it is really simple! Just make sure you iron every time you do a seam, as we always should, and that makes for a really clean finish to the jacket. I love this pattern! And I am so thankful for the bloggers that test out patterns and give you other hack ideas that you can do to make the original product even better!
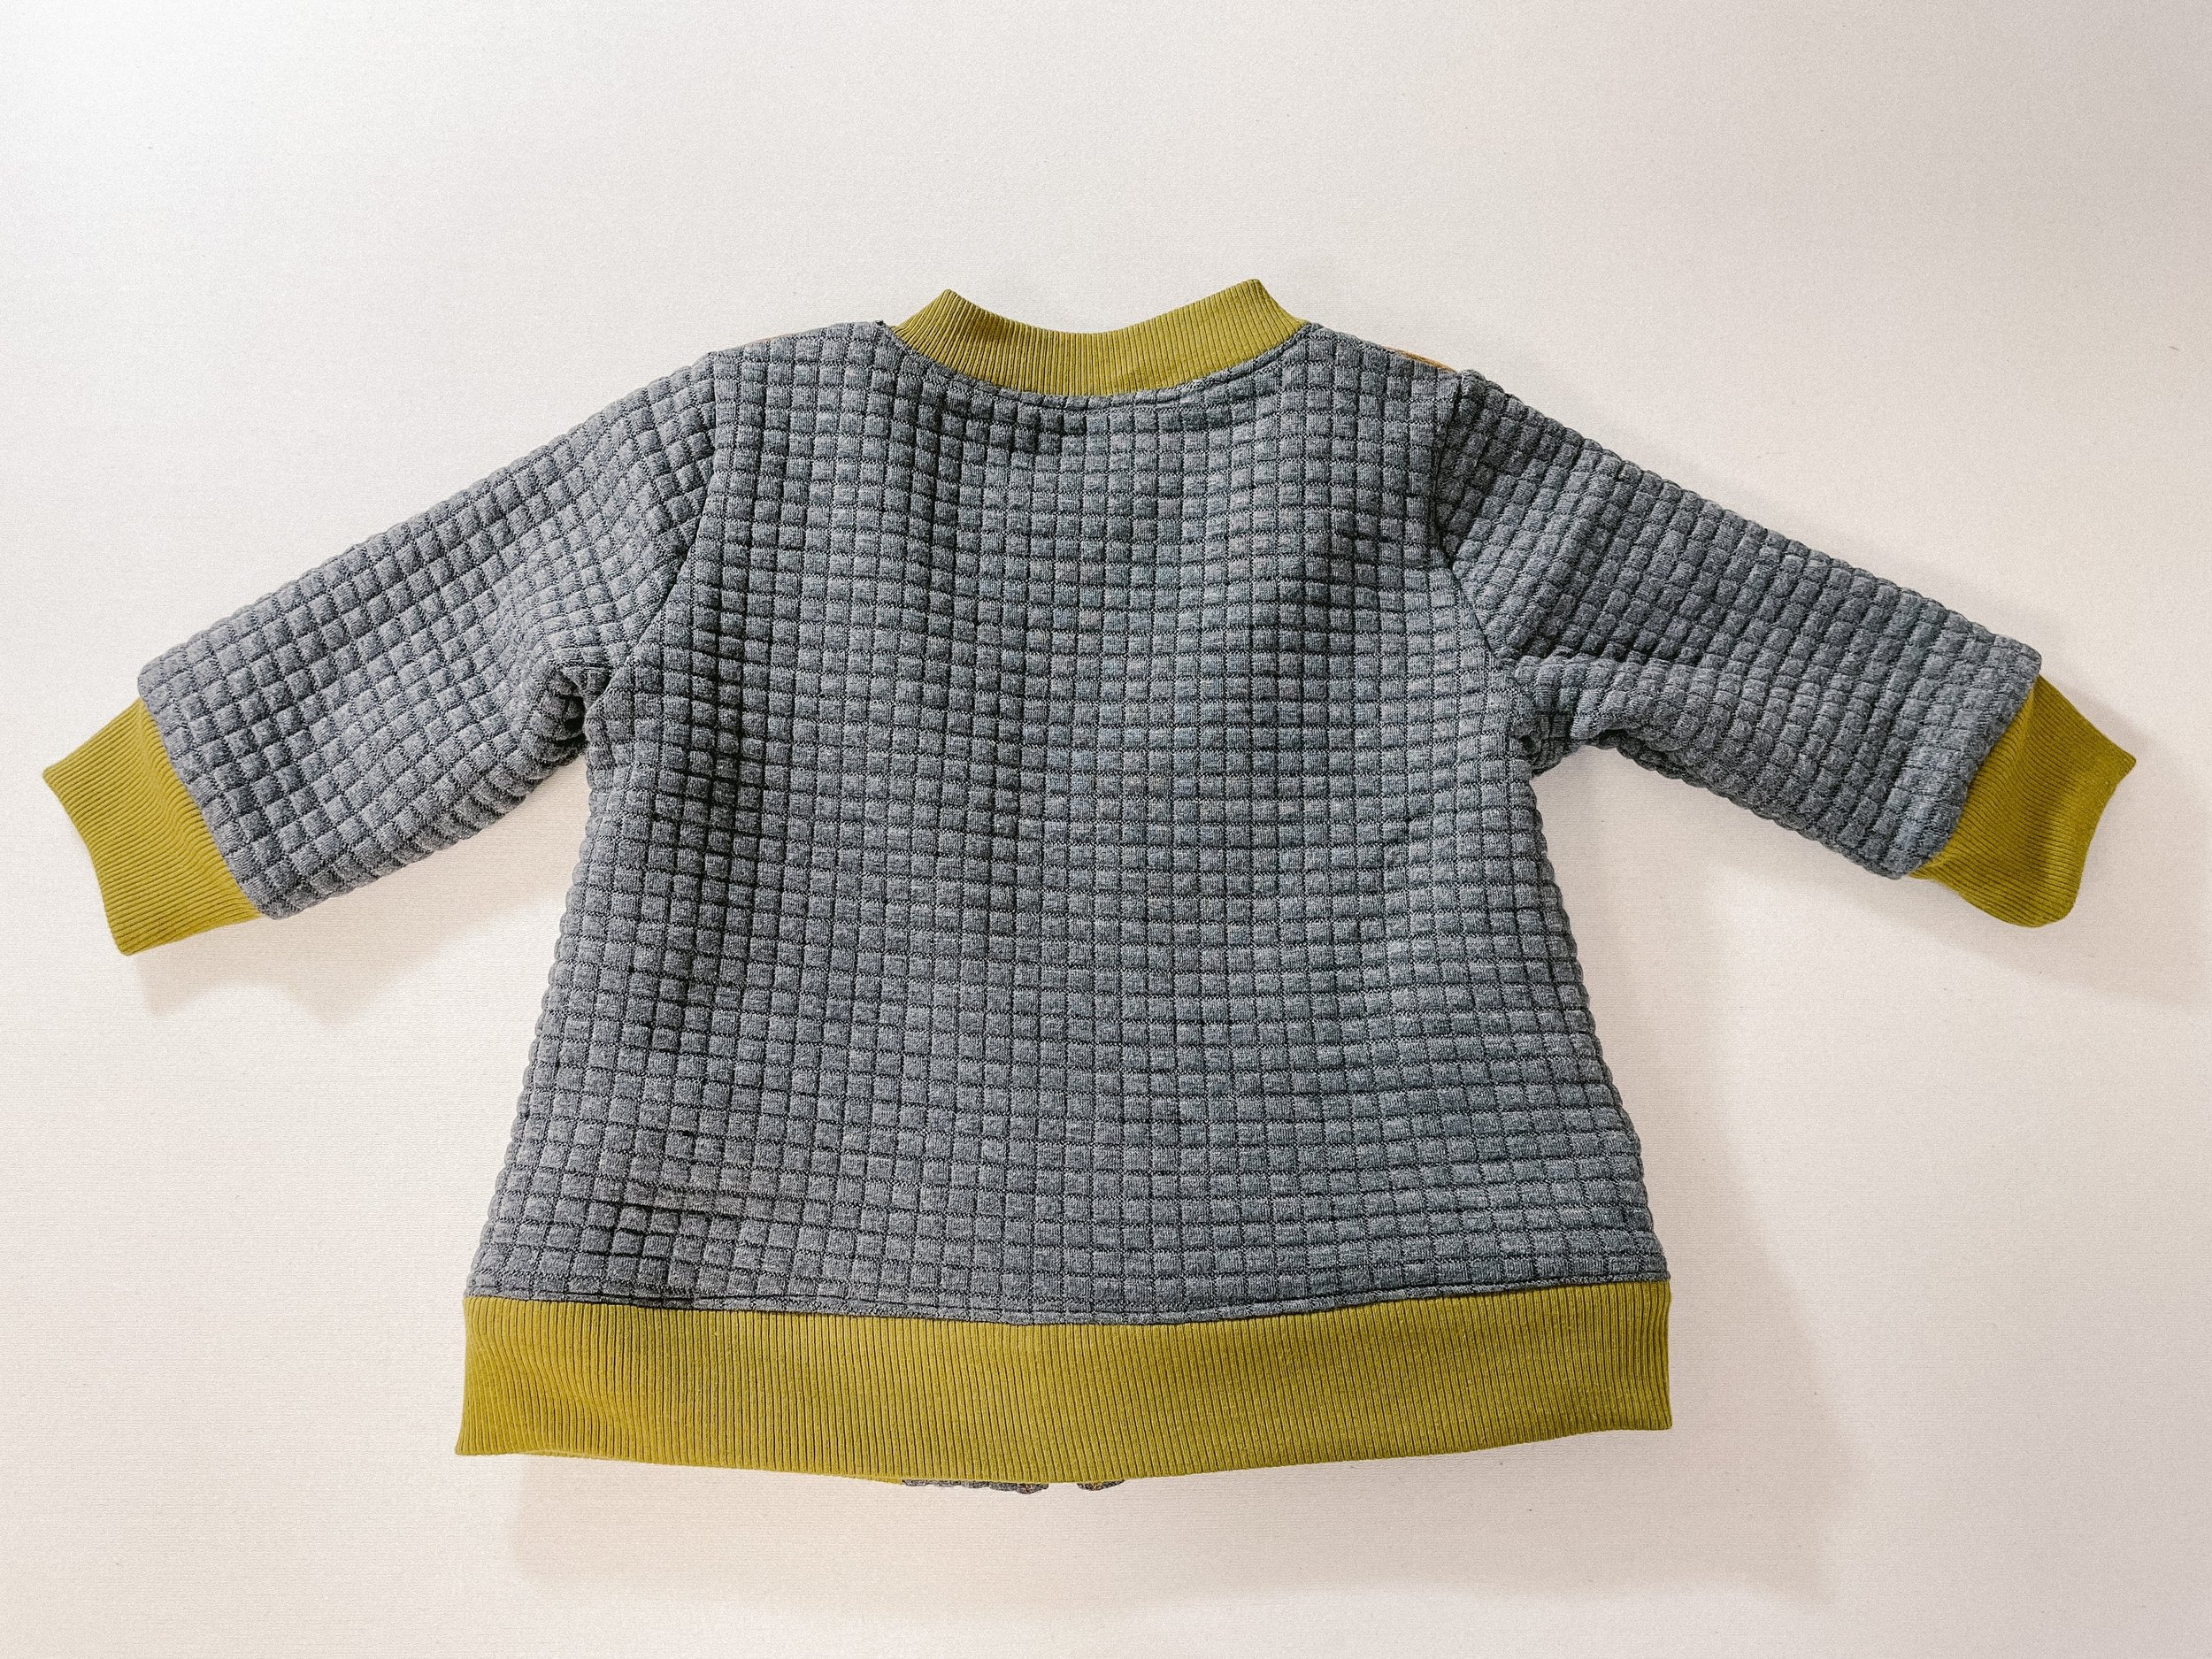
Back view of jacket.
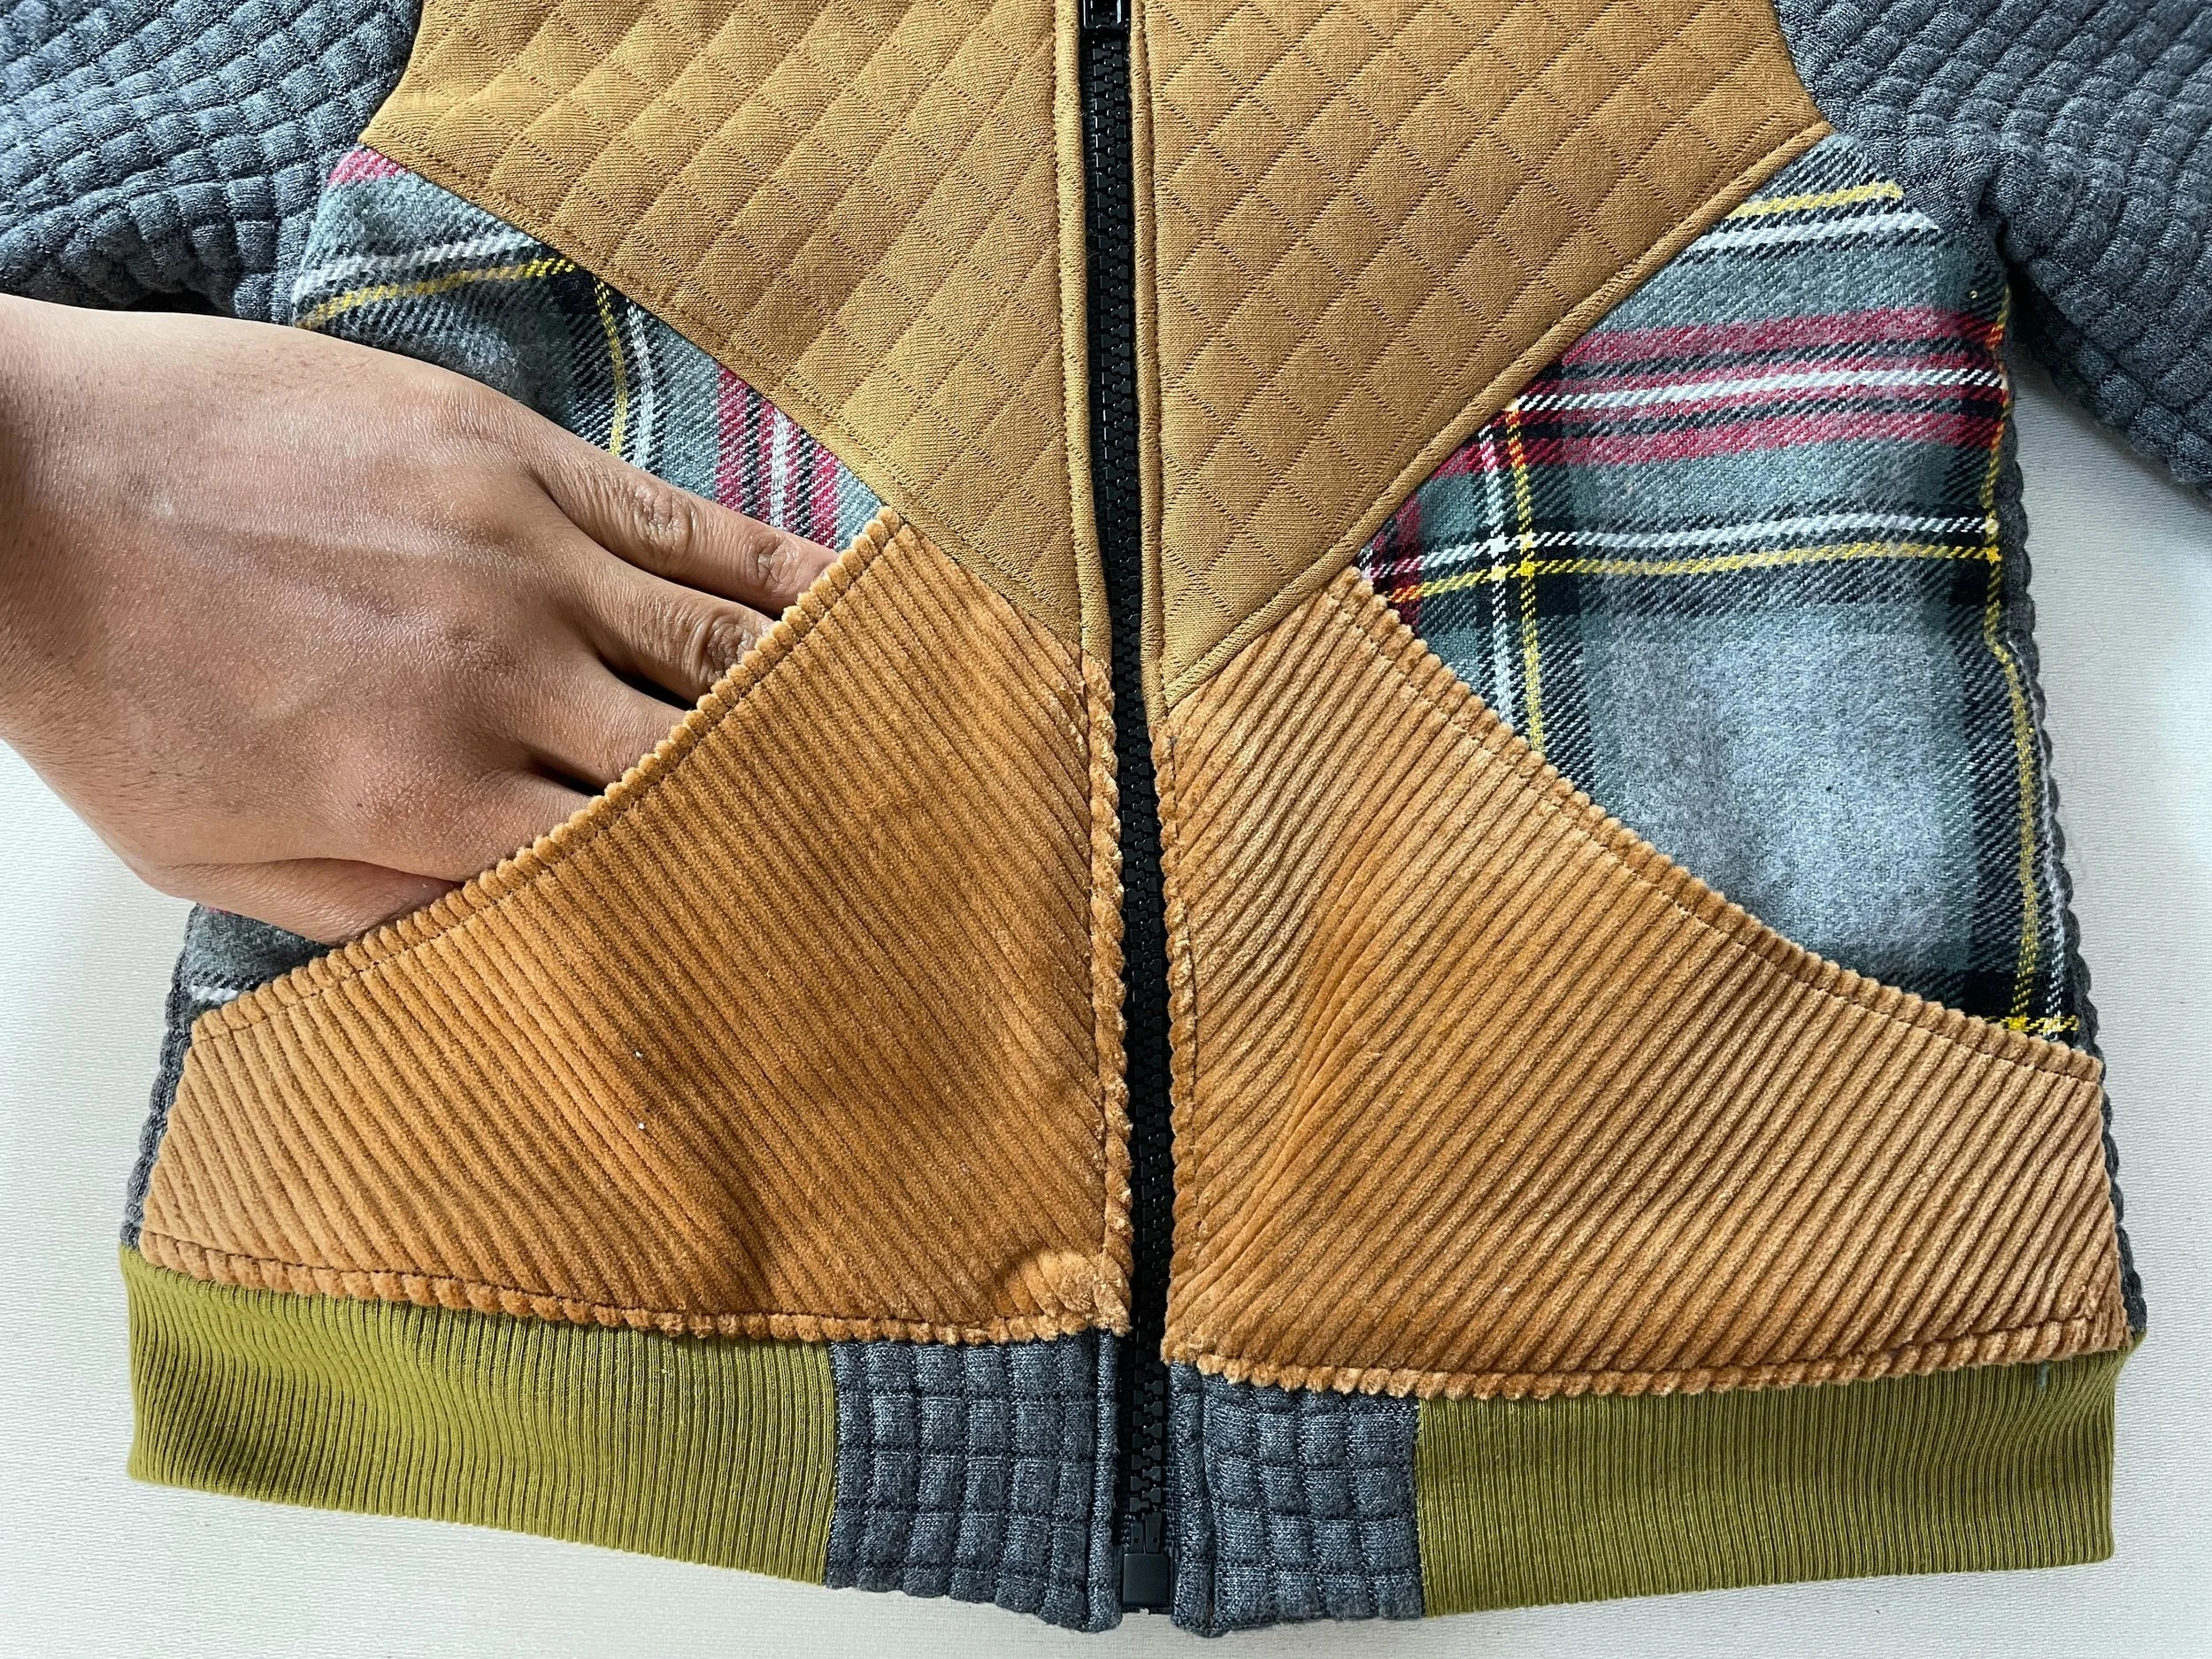
Useable pocket option.
Thank you for taking the time to read this review of the Billy & Betty Bomber Jacket by Threads by Caroline. If there are any patterns that you would like me to try out and review send me a quick email at ahadicreations@gmail.com.
Talk Soon,
Amanda
P.S.
Here are the steps word-for-word for adding the lining from the Threads by Caroline blog post to make it easier for you.
Following step 26 of the Threads by Caroline sewing instructions here is what VirvelVi recommends:
First I sewed together jacket and lining along the neckline, with the collar in between.
Then I sewed together the jacket and lining along the bottom by first sewing one of the waistband's long sides to the jacket, and then the other long side to the lining.
Pressing the waistband's center fold first, before attaching it, makes it easier to get it nice and neat. Also, press the seam allowance upward when the waistband has been attached.
The jacket is now open where the zipper will go. You'll attach it in the next step.
You could fold in the seam allowance of both jacket and lining, place the zipper in between and topstitch. But since my jacket fabric is so heavy I chose to first sew the zipper to the jacket fabric. Make sure to match the bottom of the zipper to where the waistband will be folded. I also chose to attach a zipper facing.
Then I folded the seam allowance of the lining and sewed it to the zipper, by topstitching from the right side.
With the zipper in place I topstitched along the waistband seam and through both layers of seam allowance (the seam between waistband and jacket/lining). I also topstitched the neckline for a nice finish.
Last but not least, the sleeve cuffs. I attached them by pulling out the jacket sleeve and lining sleeve through the hole in the lining side seam. I then place the cuff inside the sleeve, right sides together, and folded in the sleeve lining so that it's right sides together with the cuff.
So the cuff is between the jacket and lining, just like how we did it in the neckline.
To finalize, I sewed together the hole in the lining's side seam. And the jacket's done!